Repair 1991 Williams Party Zone

This machine is on location now up at Hoots Beer Co. in Winston-Salem, so head on over and put some quarters in!

The primary functional issues with this game were: missing one entire column, several other switches not registering, Captain Bizarre was spinning continuously and after all those issues were taken care of the F102 right flipper fuse was blowing.

Installed opto board on Captain Bizarre with all new optos.

Installed opto board on Captain Bizarre with all new optos.

The Captain Bizarre toy communicates between the CPU with 3 opto switches on a small under playfield board. This board was completely missing one of the optos and only one of the other two was functioning correctly. Since I had to order the one, I decided to replace all 3 on the little board.

A lot of times an entire missing column leads to the replacement of the often-failed 2803 chip at U20 on the CPU. However, you never want to rush to replace an IC chip as the delicate through-holes on these boards can be easily damaged. I isolated the problem to the CPU, then used the schematic to buzz back the traces from the pins to the CPU to make sure a simple jumper wasn’t a solution to the problem. When everything buzzed out and that column was still failing the switch test, I then replaced the U20 chip with a new chip and socket for easy replacement later if the new chip ever fails. That, in this instance, was the culprit and that missing switch column returned to working order.

Socketed new U20 for missing switch column issue.

Socketed new U20 for missing switch column issue.

All of the unregistering switches were adjustment issues. The blowing flipper fuse at F102 was a maladjusted EOS switch on the right flipper. It was staying high power all the time and never switching over to low power, causing the flipper to blow on hold.

Posted in Repairs | Tagged , , , , , , , | Leave a comment

2008 Stern Batman Dark Knight Repairs

Stern Batman up and running again!

Stern Batman up and running again!

This one is out of the personal collection. Recently got it in a trade deal for my Williams Congo. Part of the trade deal was that there was a fuse blowing on the I/O Power Driver board, which was fine with me.

F110 was the fuse in question that was blowing, which is the 16VAC fuse. This voltage is rectified by BR2 to the +20VDC which powers the low power solenoids and flash lamps in the game.

To help in diagnosis, it’s a good idea to isolate whether the issue is a board issue or a potential short from the playfield. To do this, I noticed that the low power and flash lamp connectors were J6 and J7. So, I removed these connectors with the game off and then turned the game on. To help conserve fuses for this test, I used by 5amp circuit breaker fuse (a mini 5 amp fast blow circuit breaker that I soldered a fuse on the end of.)

Sure enough, no fuse blowing. So, this told me that the issue was coming from the playfield. I then plugged in J6, no fuse blow. Then, J7 and viola there goes our fuse. So, something in line with J7 was causing the fuse to pop.

With the game on and my circuit breaker fuse reset, I barely plugged in J7 and got a spark from roughly pin 6 or 7. Checked the schematic to see that these were a series of Joker flash lamps or another issue.

A flash lamp mod to the backbox had been added on this game which used jumpers off of one of the Joker flash lamps. The leads had been bent up and were touching causing the dead short to go back to the board and blow fuse F10. I realigned these jumpers and reset my circuit breaker fuse and turned the game back on — no blown fuse! However, we had all flashers in that line “locked on”, meaning the driver transistor on the board was likely blown, which was not surprising considering the dead short.

I checked schematics and found the driver transistor for those flash lamps was Q22, a TIP122 transistor. I pulled the board, confirmed the blown TIP122, and replaced with a sturdier TIP102. Board plugged back and in and boom, everything working and no blown fuse.

The only other issue I found on the game was a dead right flipper, which easily ended up just being a missing 3amp flipper fuse. Quick shop, new super bands, new balls, some replaced LEDs and adjustments and its back up to speed and playing nicely.

Posted in Repairs | Tagged , , , , , , , | Leave a comment

1986 Williams F-14 Tomcat Repair

Another F-14! I was contacted about some sluggish flippers on the right side of the game, but when I got to the location also found that the machine was in “Adjust Failure” upon boot up.


Damaged original battery holder

Damaged original battery holder

“Adjust Failure” on this era of game points to the RAM not receiving 4.5VDC to power it while the game is off; thus, upon each new boot up the game restores factory settings rather than utilizing the RAM properly to save high scores, settings, etc.

Sometimes the repair for this is as easy as replacing the AA batteries in the backbox, as this is what powers the RAM. However, on older games, most of the time its not as simple as that. Over time, the cheap battery holders on these games can become fragile and break, either from age alone or some amount of corrosion on the contacts.

In this case, there wasn’t any corrosion, but the contacts were worn. So, I replaced the battery holder with a remote pack to get the batteries off the board in case they corrode at any time down the road. This restored 4.5VDC through D2 and to the last two pins of the RAM taking the game out of “Adjust Failure.”

Once that issue was tackled, it was on to the flipper problems. Both sluggish flippers were on the right side. Oddly, one ended up being a mechanical issue, whereas the other an electrical issue.

Added in Remote Pack to correct Adjust Failure

Added in Remote Pack to correct Adjust Failure

The top flipper had a very worn pawl that was causing it to stick. After a rebuild with new pawl, coil stop, spring and sleeve and a file of the EOS switch to clean it up a bit, it was back to working like new.

The bottom flipper didn’t need a mechanical rebuild, but was still sluggish. Ended up that a contact point on the EOS had completely fallen off even though the switch itself was still in tact. I didn’t have that exact switch on hand, but luckily once the screws are out, the whole EOS switch mech will come apart essentially. So, I was able to MaGyver in a piece of a new switch I had to replace the broken part of the old switch, putting that flipper back to new.

Posted in Repairs, Uncategorized | Tagged , , , , , , , | Leave a comment

2003 Stern Ripley’s Believe it or Not… Repair

Have been really tied up lately and actually sold several of my personal projects to reclaim my garage spot for the new car, but still plugging through games as time allows.

Was contacted by a fellow pinball owner regarding a 2003 Stern Ripley’s Believe it or Not that was giving him some trouble with the left flipper and auto plunger as well as an odd boot-up issue.

The boot up issue ended up being a connector that wasn’t fully seated on the CPU board. Always nice to find bizarre boot behavior to be something easy like that. I also found the idol opto connector unseated underneath the playfield.

For the auto plunger and left flipper, he had replaced the associated Q2 and Q15 22NE10L transistors on the I/O Power Driver board, but neither coil was firing in play or test. These transistors come down from HCT273 chips at U1 and U2, connect to ground on one leg and then output from the third leg.

Checking off the schematics with my DMM on continuity, I found the Q2 auto plunger was missing continuity to resistor R2 which goes back to the U1 chip. I ran a jumper to complete continuity between the proper leg and R2 which corrected the auto plunger issue.

For the left flipper, oddly everything buzzed proper on the top side of the I/O board; however, on the solder side, the ground continuity wasn’t there. I strengthened the solder side connection to ground and that got the flipper firing proper.

Here’s a video of the game and all associated components working properly:

http://youtu.be/HGvxZjQINRE

Posted in Repairs | Tagged , , , , , | Leave a comment

1990 Williams Whirlwind Display Repair

This is actually on one of my personal games. Contrary to popular belief, even though I own and work on a lot of pins, I don’t really play them that often. Actually, its very rare for me to play a game at home by myself.

However, tomorrow I am having some people over for a semi-regular pin night get together, so I wanted to make sure everything was up to speed. Upon firing the games on, I noticed Whirlwind’s display was missing. Tried reseating some cables and doing easy checks first, no dice.

Checked the fuses for the +100 and -100v circuits in the power supply, they tested good. Next was checking the pinout reading on the board. The -100vdc was practically non-existent, so I pulled the board and checked the 39k ohm resistors first since they are a popular failure point on System 11 games. Sure enough, the 39k ohm resistor in the -100vdc circuit was open.

Luckily, I had some sturdier 2 watt 39k’s on hand. Didn’t even throw this on the bench, just quick and dirty replaced it beside the machine. Popped the board back in and viola, no man down for the get together tomorrow night.

Working display, nice to be back. Look at those nice high scores by MAT :)

Working display, nice to be back. Look at those nice high scores by MAT 🙂

Replaced 39k ohm 1 watt resistor with a sturdier 2 watt counterpart

Replaced 39k ohm 1 watt resistor with a sturdier 2 watt counterpart

Posted in Repairs | Tagged , , , , , , | Leave a comment

Data East Pinball Flipper Power Board Repair

Did a flipper rebuild on a Data East Hook not too long ago and afterwards was having a hold problem on the right flipper. Went to check the fuse on the flipper power board and it was fine, but had found some rather shoddy previous work on the board.

The T-800 triac had at one point been replaced and rather than putting back in the board appropriately, they had soldered it on the back of the board along with the heatsink bent in around it. It was pressed up against the cab and, over time, had caused one leg to come loose.

Replaced T-800 triac, TIP32C and 2k ohm resistor. T-800 relocated along with heatsink to proper position on the board.

Replaced T-800 triac, TIP32C and 2k ohm resistor. T-800 relocated along with heatsink to proper position on the board.

Wish I had taken a picture of its original state, but I forgot so only have the cleaned up version. Anyway, once on the bench, I’d also noticed one leg of the 2000 ohm resistor in line with that triac had also come off and the issue had caused the TIP32C to short out as well.

I replaced all three components and put the T-800 triac back on the proper side of the board so that it could screw in right on the side of the cabinet where these Data East flipper power boards should.

Unfortunately, wasn’t able to test this one in game as this was for a two flip game and both of my Data East machines are three flips, but got a text later in the evening after the owner had picked up the board that everything was back working perfectly.

Posted in Repairs | Tagged , , , , , , | Leave a comment

Bally Solenoid Driver Board Upgrades/Repair

Trying to keep updates going as regularly as possible here, but has definitely been a busy few weeks. Last couple weeks have included doing two full flipper rebuilds including coils on a Data East Hook and DE Simpsons, fixing a power supply issue on a Bally Rally X, fixing a missing flash lamp 20v on a WPC board from a Creature from the Black Lagoon, a full restore on a Bally Strikes and Spares in progress, a T2 arcade board look over which ended up being a dead 3v battery powering the RAM and a High Speed with a blown solenoid fuse.

One thing I’ve done a lot of recently that I wanted to write up a quick post on is the Bally Solenoid Driver Board from Bally games manufactured from 1977-84. I have done the recommended upgrades and repaired four of these over the past month or so. The games I’ve done them on have been KISS, Paragon, Bobby Orr’s Power Play and Strikes and Spares.

This board is responsible for driving the under playfield solenoids and relays, regulating the high voltage for the displays and regulating the 5vdc logic voltage that is supplied to the rest of the boards.

Original C23 -- over 30 years old, needs replacement!

Original C23 — over 30 years old, needs replacement!

The first thing I always do is replace the C23 filter capacitor, which is the largest cap on the board. This cap is the one that filters the 5vdc logic, so its very important that it functions correctly. Most caps have a lifespan of about 10-15 years; with these games being over 30 years old, if that original capacitor is still on the board, it’s high time for a new one!

The other two modifications that are important for this board are: tying the negative lead of the replaced C23 capacitor to ground, and tying a jumper between TP1 and TP3.

While I have the board out, I always test all the transistors down the line to make sure they

Jumper on solder side of TP1 to TP3.

Jumper on solder side of TP1 to TP3.

are all good to go. Testing the TIP120 transistors is easy, just set your DMM to the diode setting, put the black lead on the large metal tab of the transistor and then the red lead on each of the side legs. Each leg should read .4 to .6 volts, any reading outside of this range means a failed transistor. If you do find a failed transistor, I recommend replacing the original failed TIP 120 with the sturdier TIP 102 transistor.

Posted in Repairs, Uncategorized | Tagged , , , , , , , | Leave a comment

1979 Bally KISS Repair/Shop Out

KISS and Pool Sharks on the truck before being unloaded

KISS and Pool Sharks on the truck before being unloaded

So, I picked up a 1979 Bally KISS pinball machine the other weekend along with the Pool Sharks. Overall the game was in pretty nice shape, but did need a little attention both electronically and cosmetically to get up to speed.

A good deal of the time you run into a corroded MPU on these Bally -17 and -35 games, but luckily, this game had a clean MPU; however, the original Ni-Cad battery was still attached to the board. First thing I did when I got it in the house was cut that Ni-Cad off — it’s amazing that thing hadn’t leaked in 36 years. Really, it’s just a roll of the dice when you find one like that. I had a Bally Frontier  that similarly had the Ni-Cad still attached but a clean board, but those have been the only two I’ve seen so far.

MPU, remote pack attached on bottom of board.

MPU, remote pack attached on bottom of board.

After cutting the Ni-Cad battery off the MPU, I added a remote battery pack. The original Ni-Cad’s were rechargeable batteries, so when you add a 3 AA remote pack you have to put a blocking diode in line with the anode to prevent the charge coming back to the non-rechargeable batteries.

The second bit of board business was bringing some attention to the solenoid driver board. This board controls the display power regulation, as well as the transistors that fire all of the solenoids. When I pulled the board out, I immediately noticed a pretty terrible hack from earlier in the game’s life.

Hacked Transistor

Hacked Transistor

One of the transistors had been replaced on the solder side of the board and the previous tech had damaged the through holes and run some jumpers. One of which wasn’t too bad, the other which was pretty shoddy. Having this transistor on the solder side of the board was a terrible idea because it could easily ground out against the ground plane behind the board and short out all over again. I replaced this transistor with a TIP102 on the proper side of the board. I ended up having to keep one of the jumpers on the solder side, but was able to bypass the other.

On all solenoid driver boards from this Bally era, I replace the large C23 capacitor that filters the 5VDC. The original capacitor was a 11,000 uf 20 volt, but you can replace with both a larger micro farad and voltage rating. I have found some reasonably priced 15,o00uf 25 volt caps from http://www.greatplainselectronics.com that fit nicely as a replacement.

After that, I did the two recommended modifications on this board which are: running a jumper from the negative lead of C23 to the trace right below it (on later -35 boards) and running a jumper between TP1 and TP3.

Finished Solenoid Driver Board. Note replaced C23 cap. Other modifications and transitor clean-up on back of the board.

Finished Solenoid Driver Board. Note replaced C23 cap. Other modifications and transitor clean-up on back of the board.

The other board related issue that I addressed was replacing the large 20-pin connector on the power supply/regulator board. It had, over time, gotten very brittle and actually split in two. One wire was even soldered directly onto the male pin and one side of the split was very burnt and brittle. I added in a new female molex 20 pin connector with sturdier trifurcon crimp connectors. This got everything booting and working. Only other functional issue I ran into was a

Replaced 20-pin connector on Power Supply/Regulator board.

Replaced 20-pin connector on Power Supply/Regulator board.

stuck switch at switch 19 which ended up being a bad switch capacitor.

With the game working, I began the clean up and shop out. I cleaned the playfield which had a layer of dirt/dust over it, and then followed up with a good, hard layer of carnuba gold class paste wax to help protect the field during future play. I replaced the star posts with new red star posts, added orange super bands, replaced all white rubbers, cleaned the plastics, added LEDs in the GI, adjusted and cleaned all switch contacts, added a new ball and have tombstone KISS face drop targets on order. The targets are the only thing I am waiting on.

This is the first time I’ve really gotten to spend much time on a KISS game. I think the rules and gameplay are fantastic. It’s a fast and furious game, and the ruleset is simple but challenging. I can see why this game was so popular and sold 17,000 units.

Final Shopped Game

Final Shopped Game

Posted in Repairs | Tagged , , , , , , , | Leave a comment

1990 Bally Pool Sharks (First bits of business)

The lack of posts has not been due to lack of being busy; in fact, just the opposite, I’ve been slammed. But, that’s not a bad thing.

I’ve got a couple boards here at the house from some clients I’m working through, as well as having made a couple service calls this month, but mostly small issues that I didn’t take the time to document.

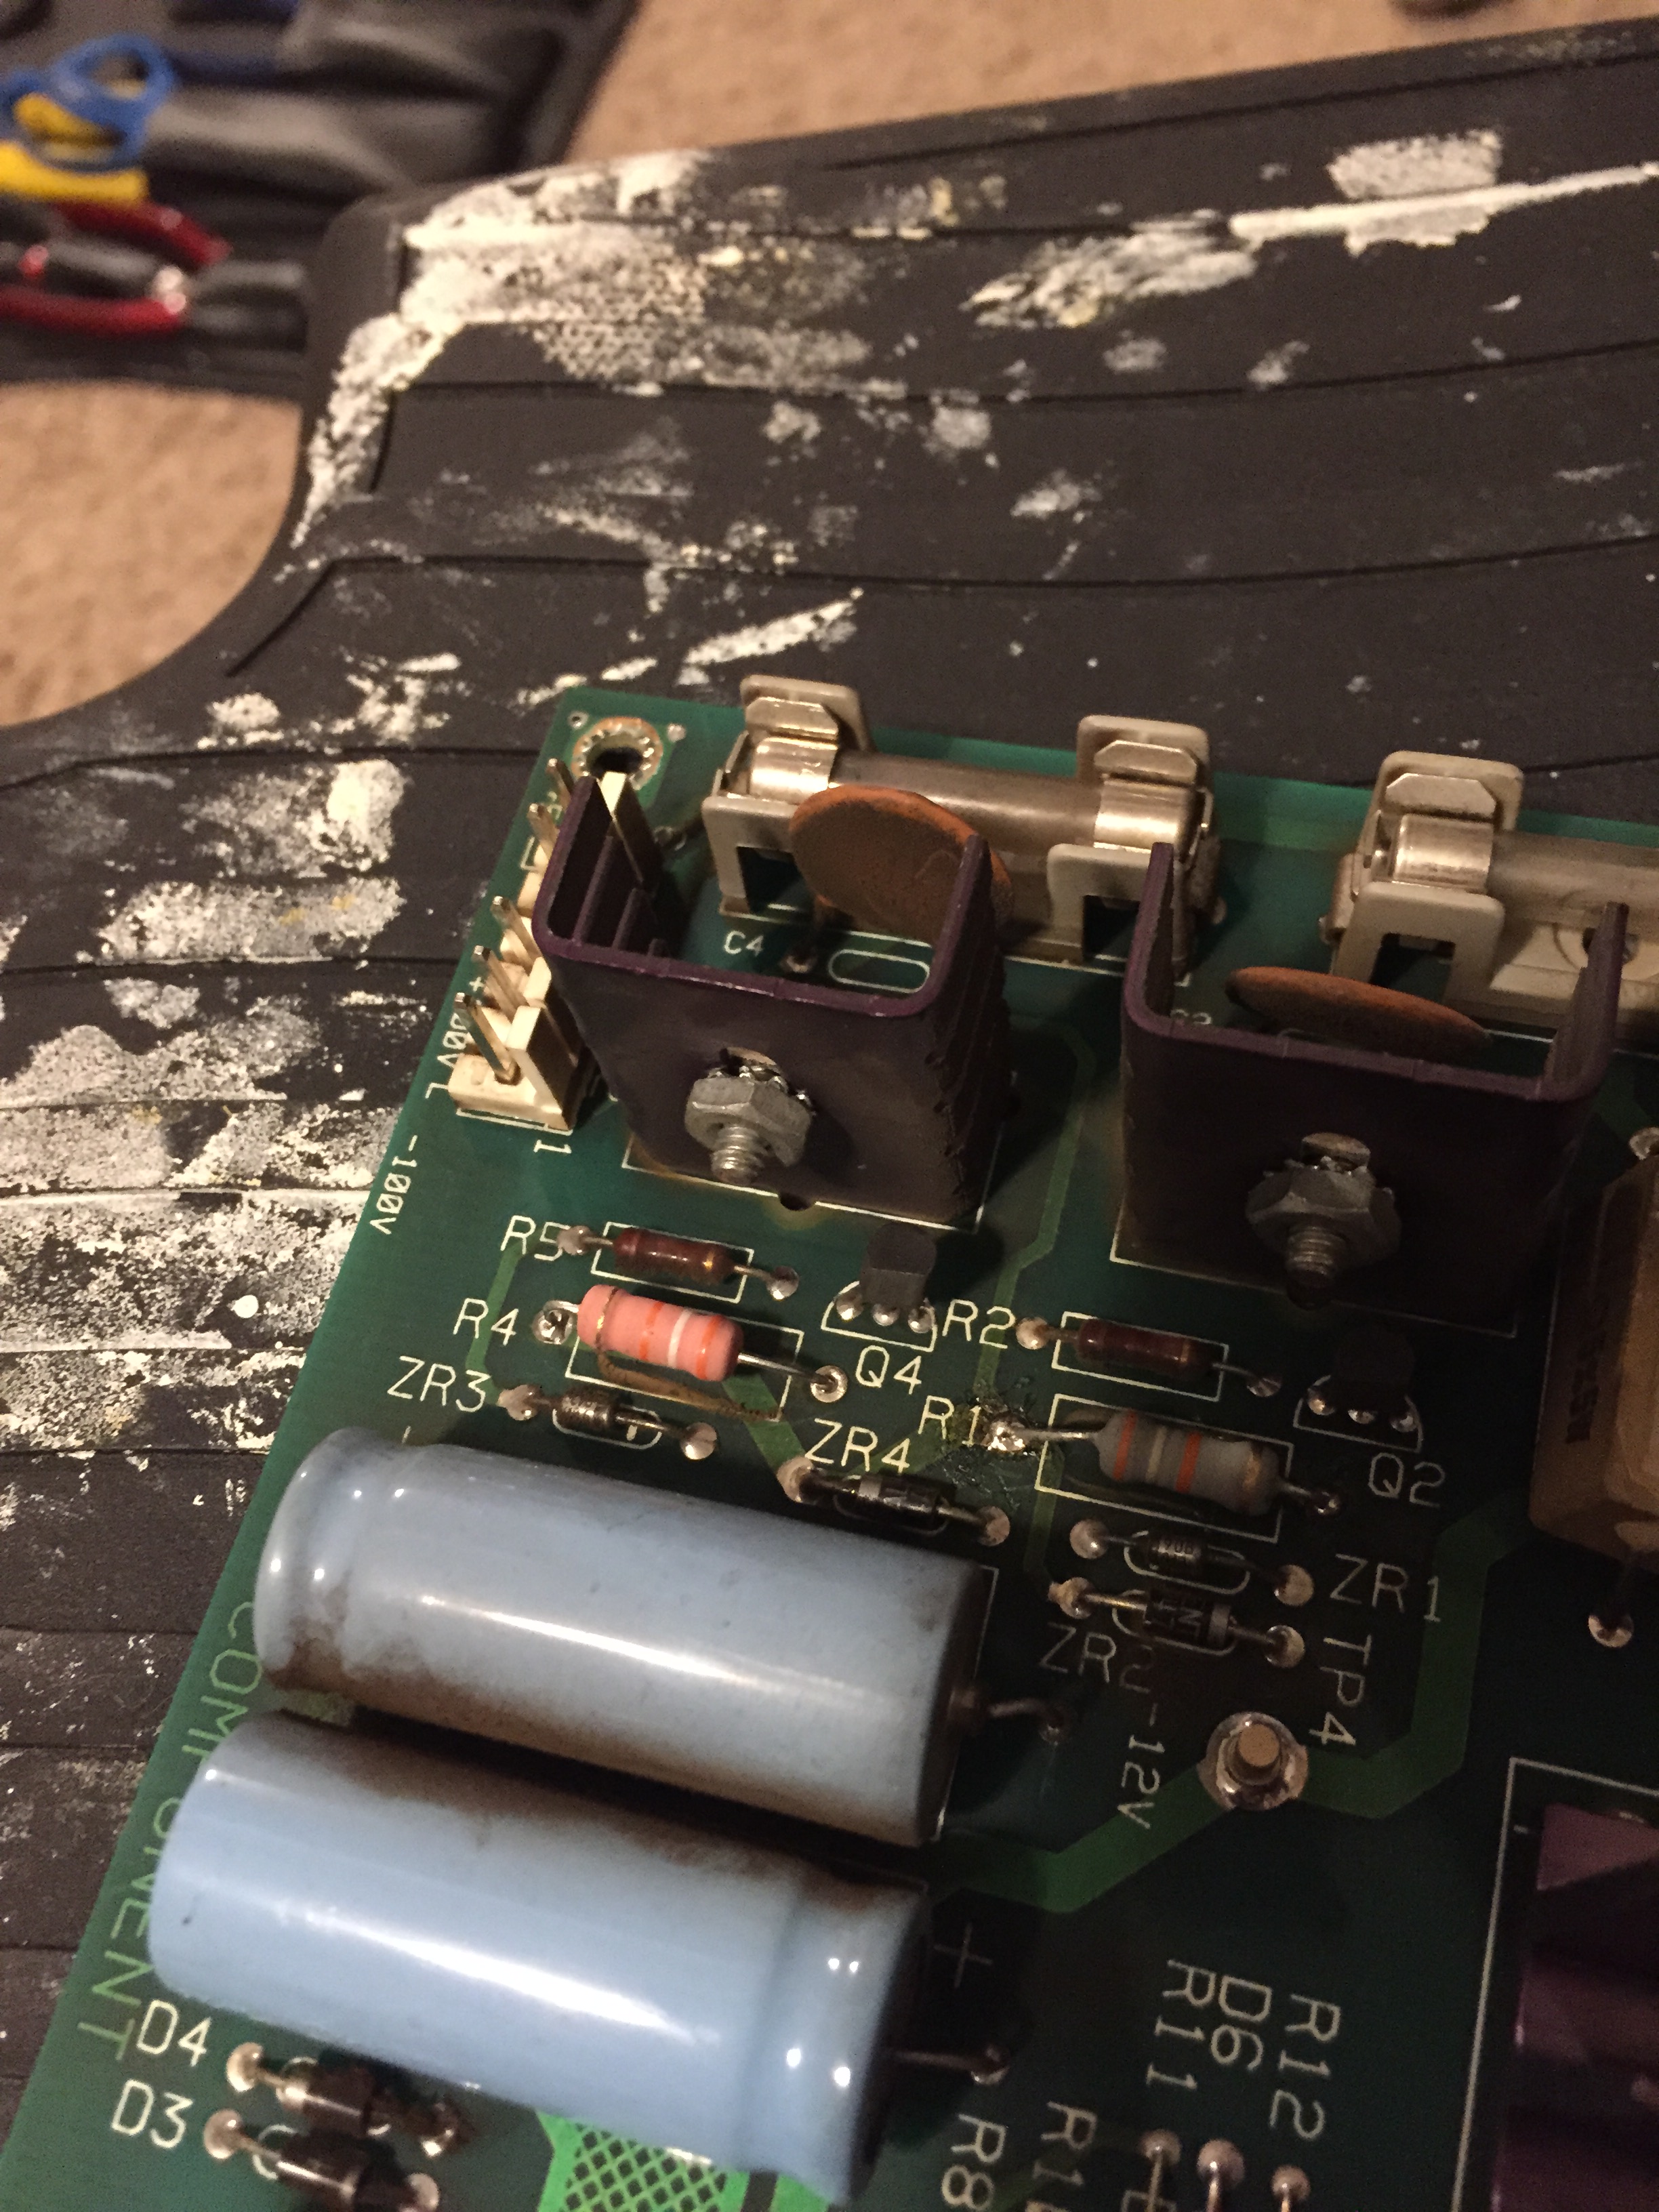
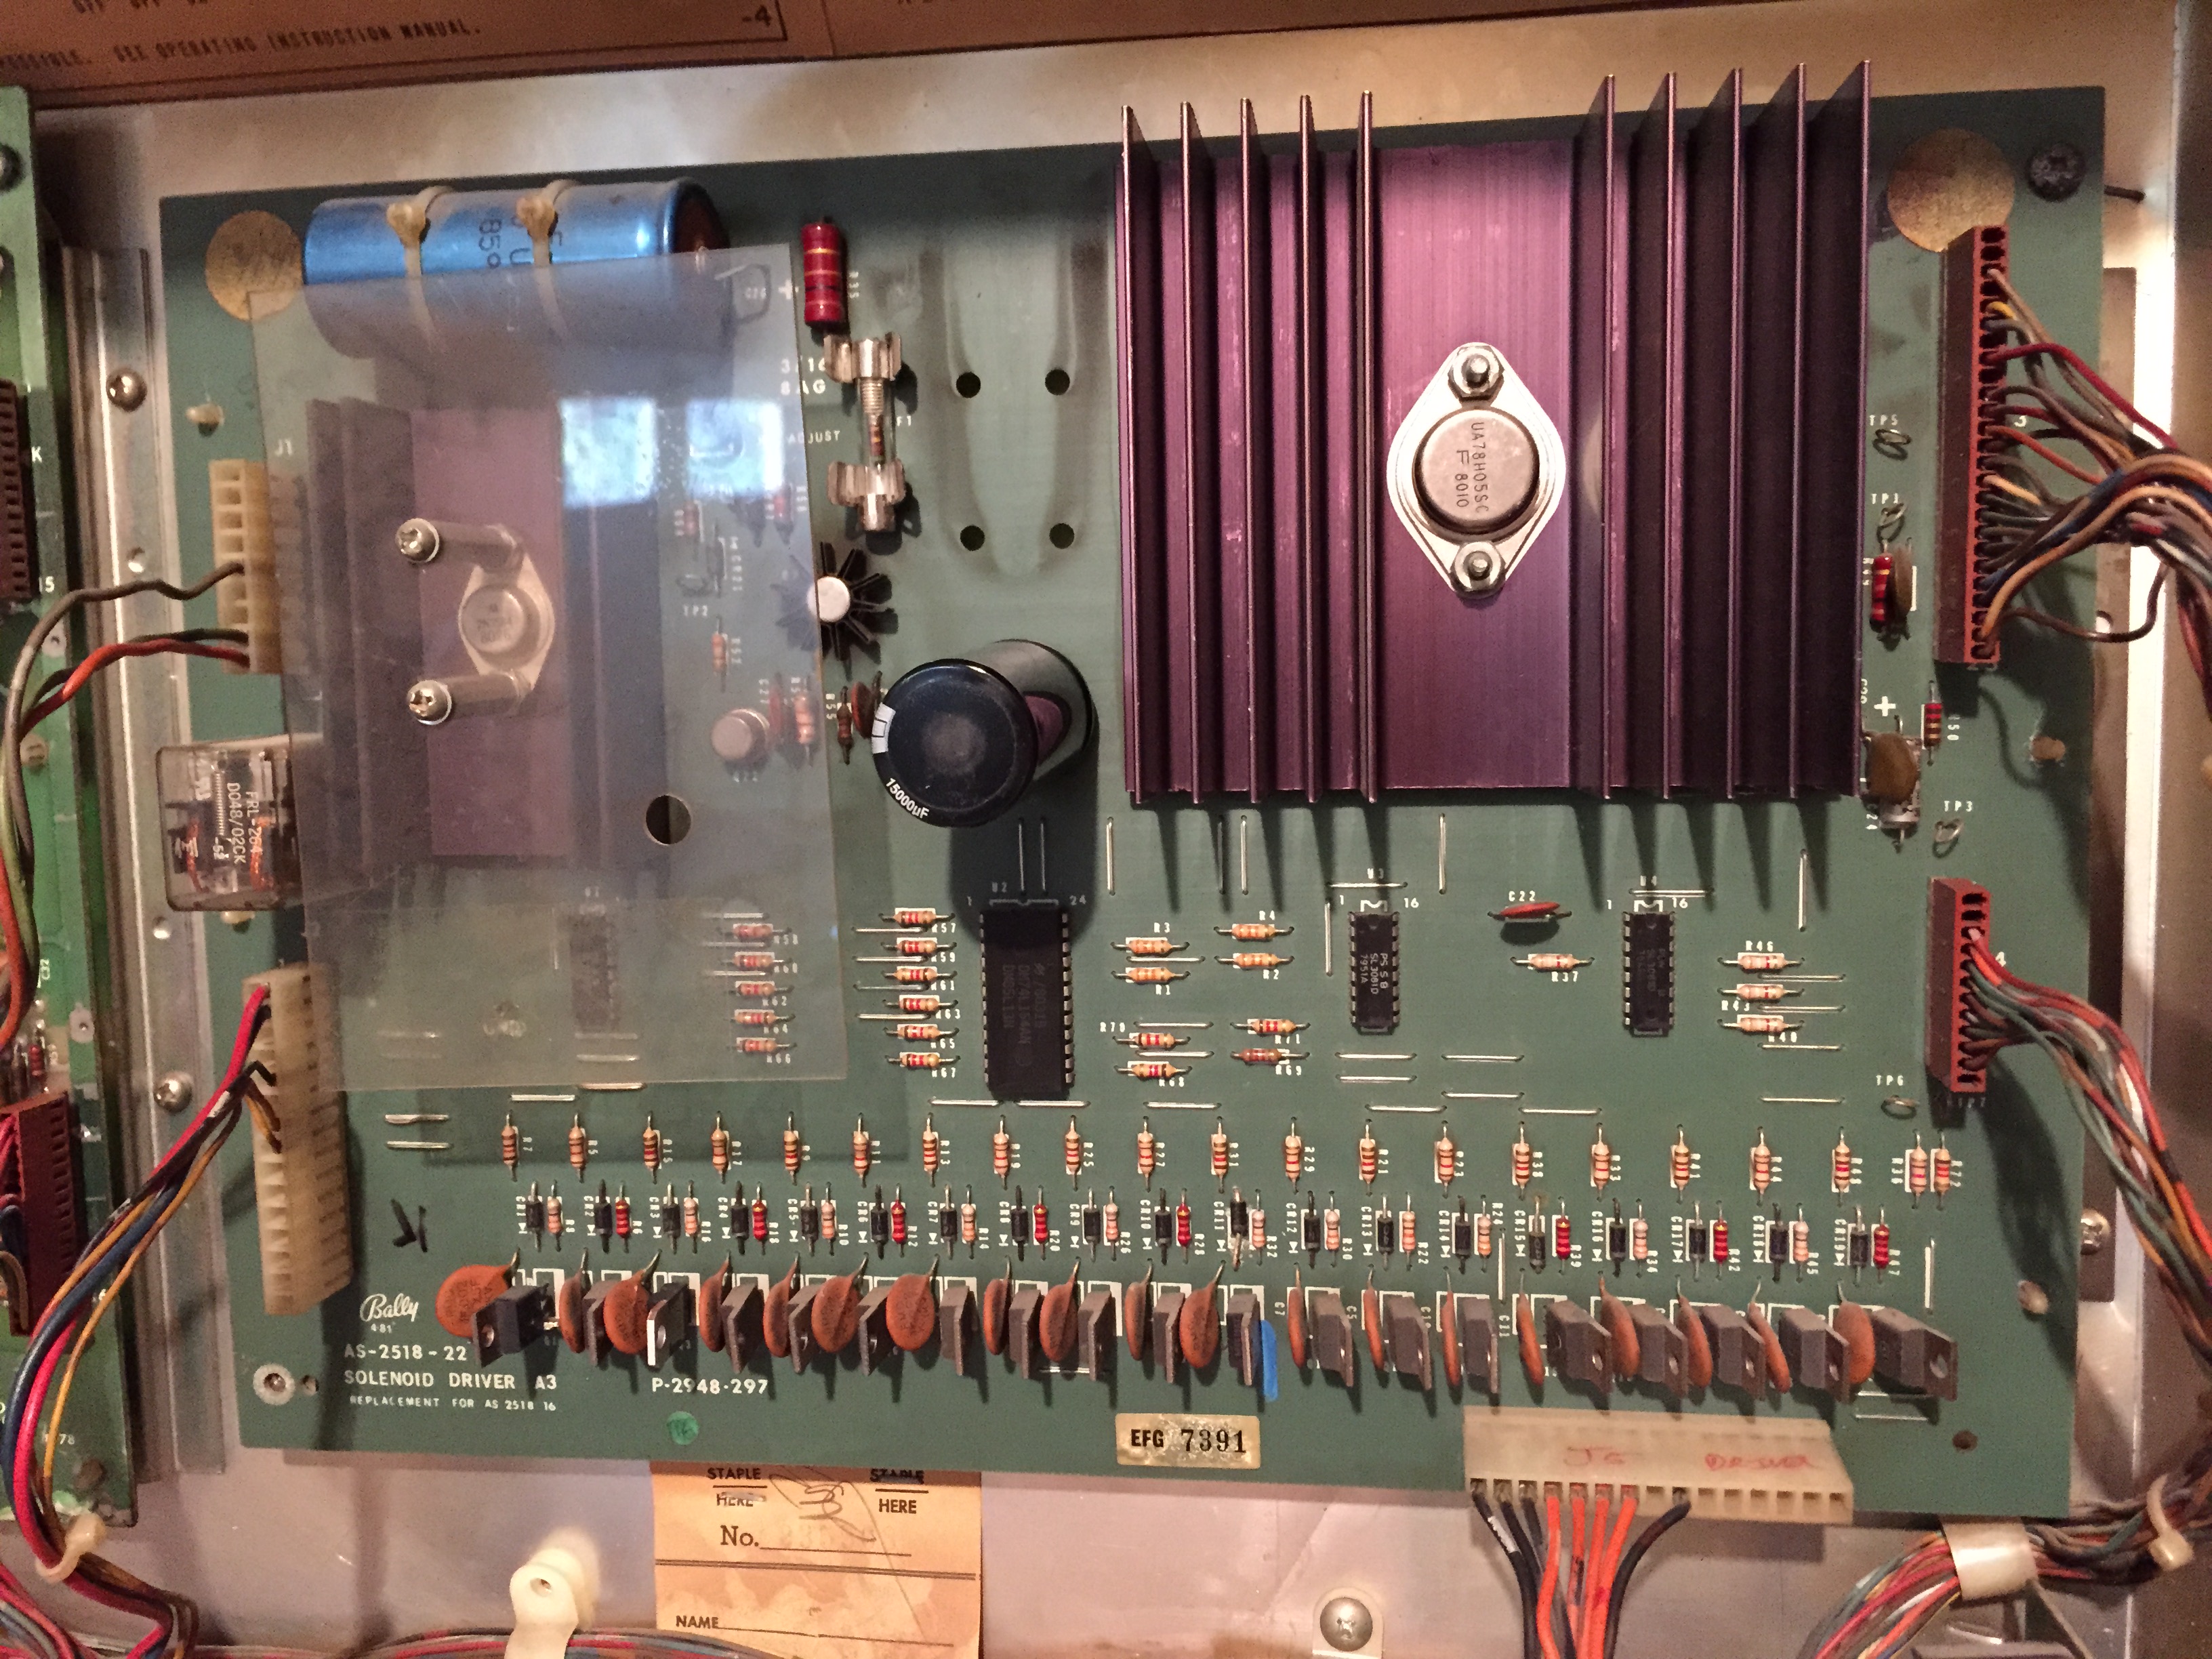
On the home front, I’m still working through the final touches on the Bobby Orr Power Play machine, and should have have a couple of posts up soon on stuff I’ve done since working on it including some work, recommended modifications and new cap on the solenoid driver board.

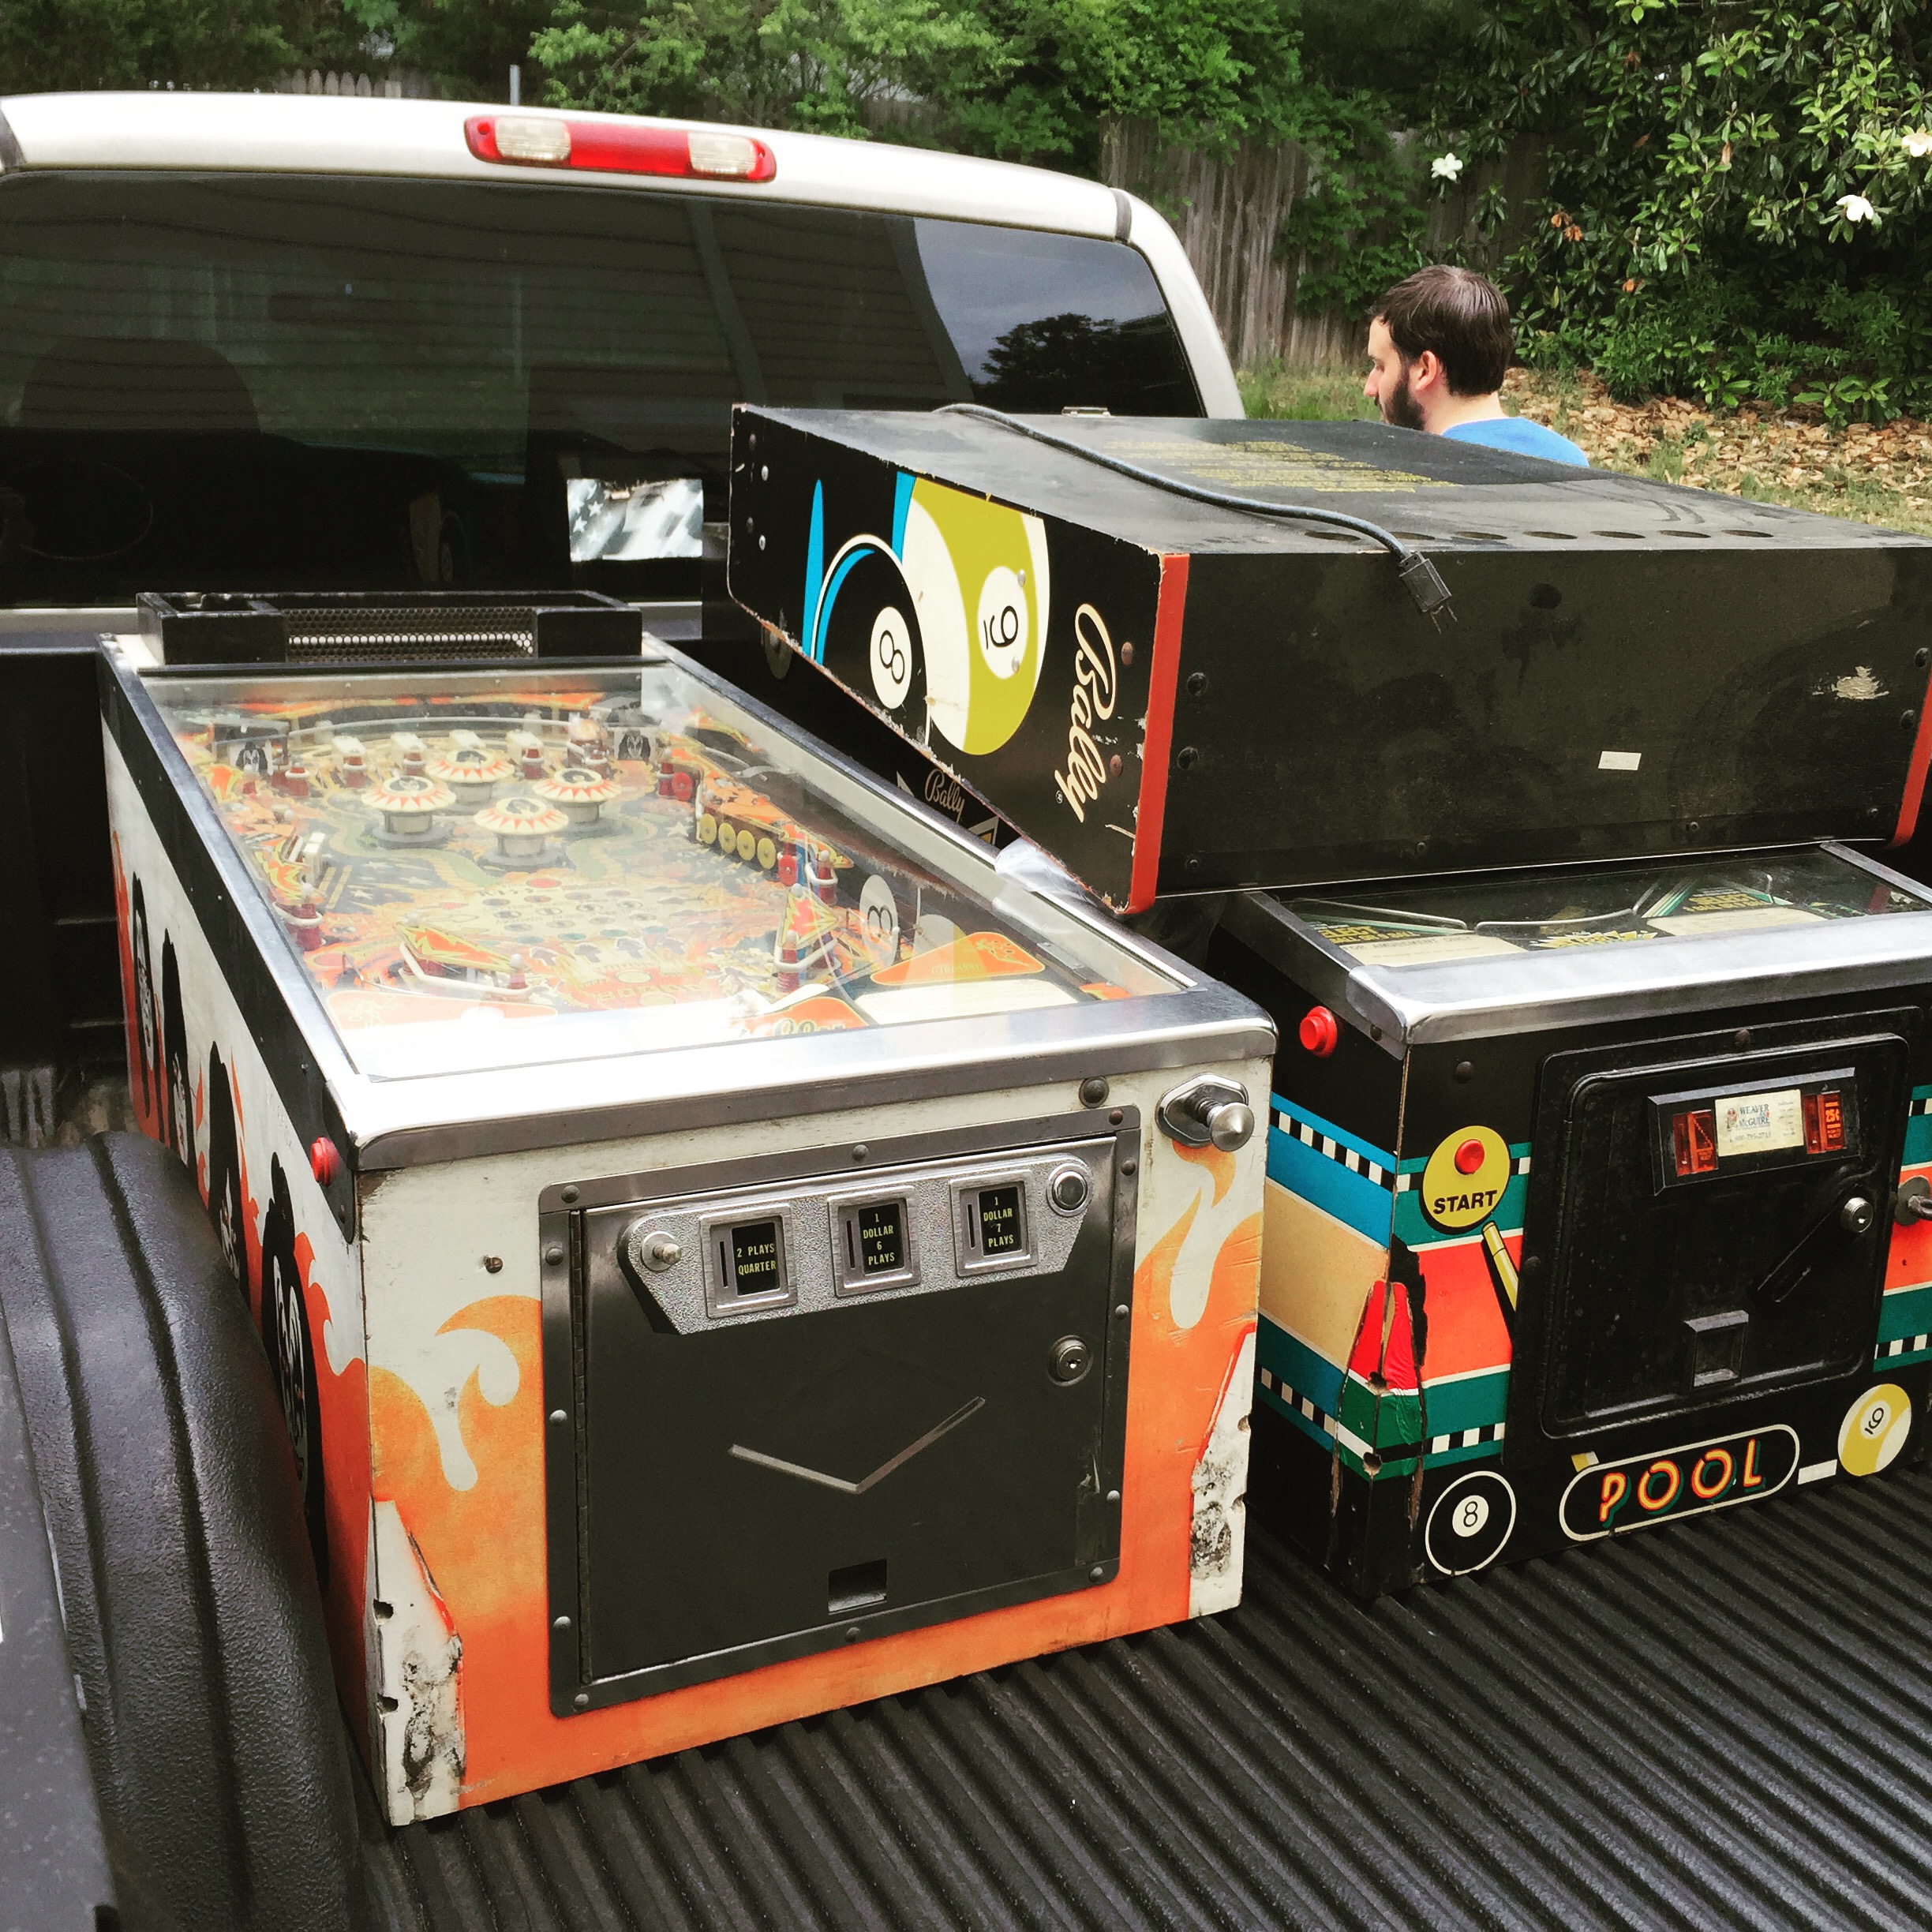
In the meantime, I’ve also acquired a 1980 Stern Seawitch which I’ll be going through and fixing up, as well as a 1988 Williams Banzai Run in my personal collection which has a good amount of work to get through to be up to speed. And, just yesterday, I picked up a 1979 Bally KISS and a 1990 Bally Pool Sharks.

KISS and Pool Sharks on the truck before being unloaded

KISS and Pool Sharks on the truck before being unloaded

I started in on some of the surface point issues on Pool Sharks this evening. The game was playable when I got it and very little really that needs to be done, but I still like to go through and make sure everything is up to my standards.

First thing I noticed was that the ground prong was long gone on the AC cord, which is something that should be addressed on any machine. I used up my last three prong replacement connector on it this evening, so I’ll be off to Ace Hardware to restock on those shortly. I have some detailed information on how best to tackle adding on a three-prong connector in the Sorcerer post.

I’d say 85% of machines I come into contact with began their lives on route; meaning, an operator bought the game new and put it on location in a pub, gas station, etc. to make money. Over time, these machines have migrated into home use.

This machine was purchased from a private seller, but retained the common badge of its previous life on route on both the coin door and the backglass. Having an operator’s badge on the coin door doesn’t bother me too much; in fact, I think it kind of adds to the history of the game and lets you know where it came from more or less, but I can’t stand them on the backglass.

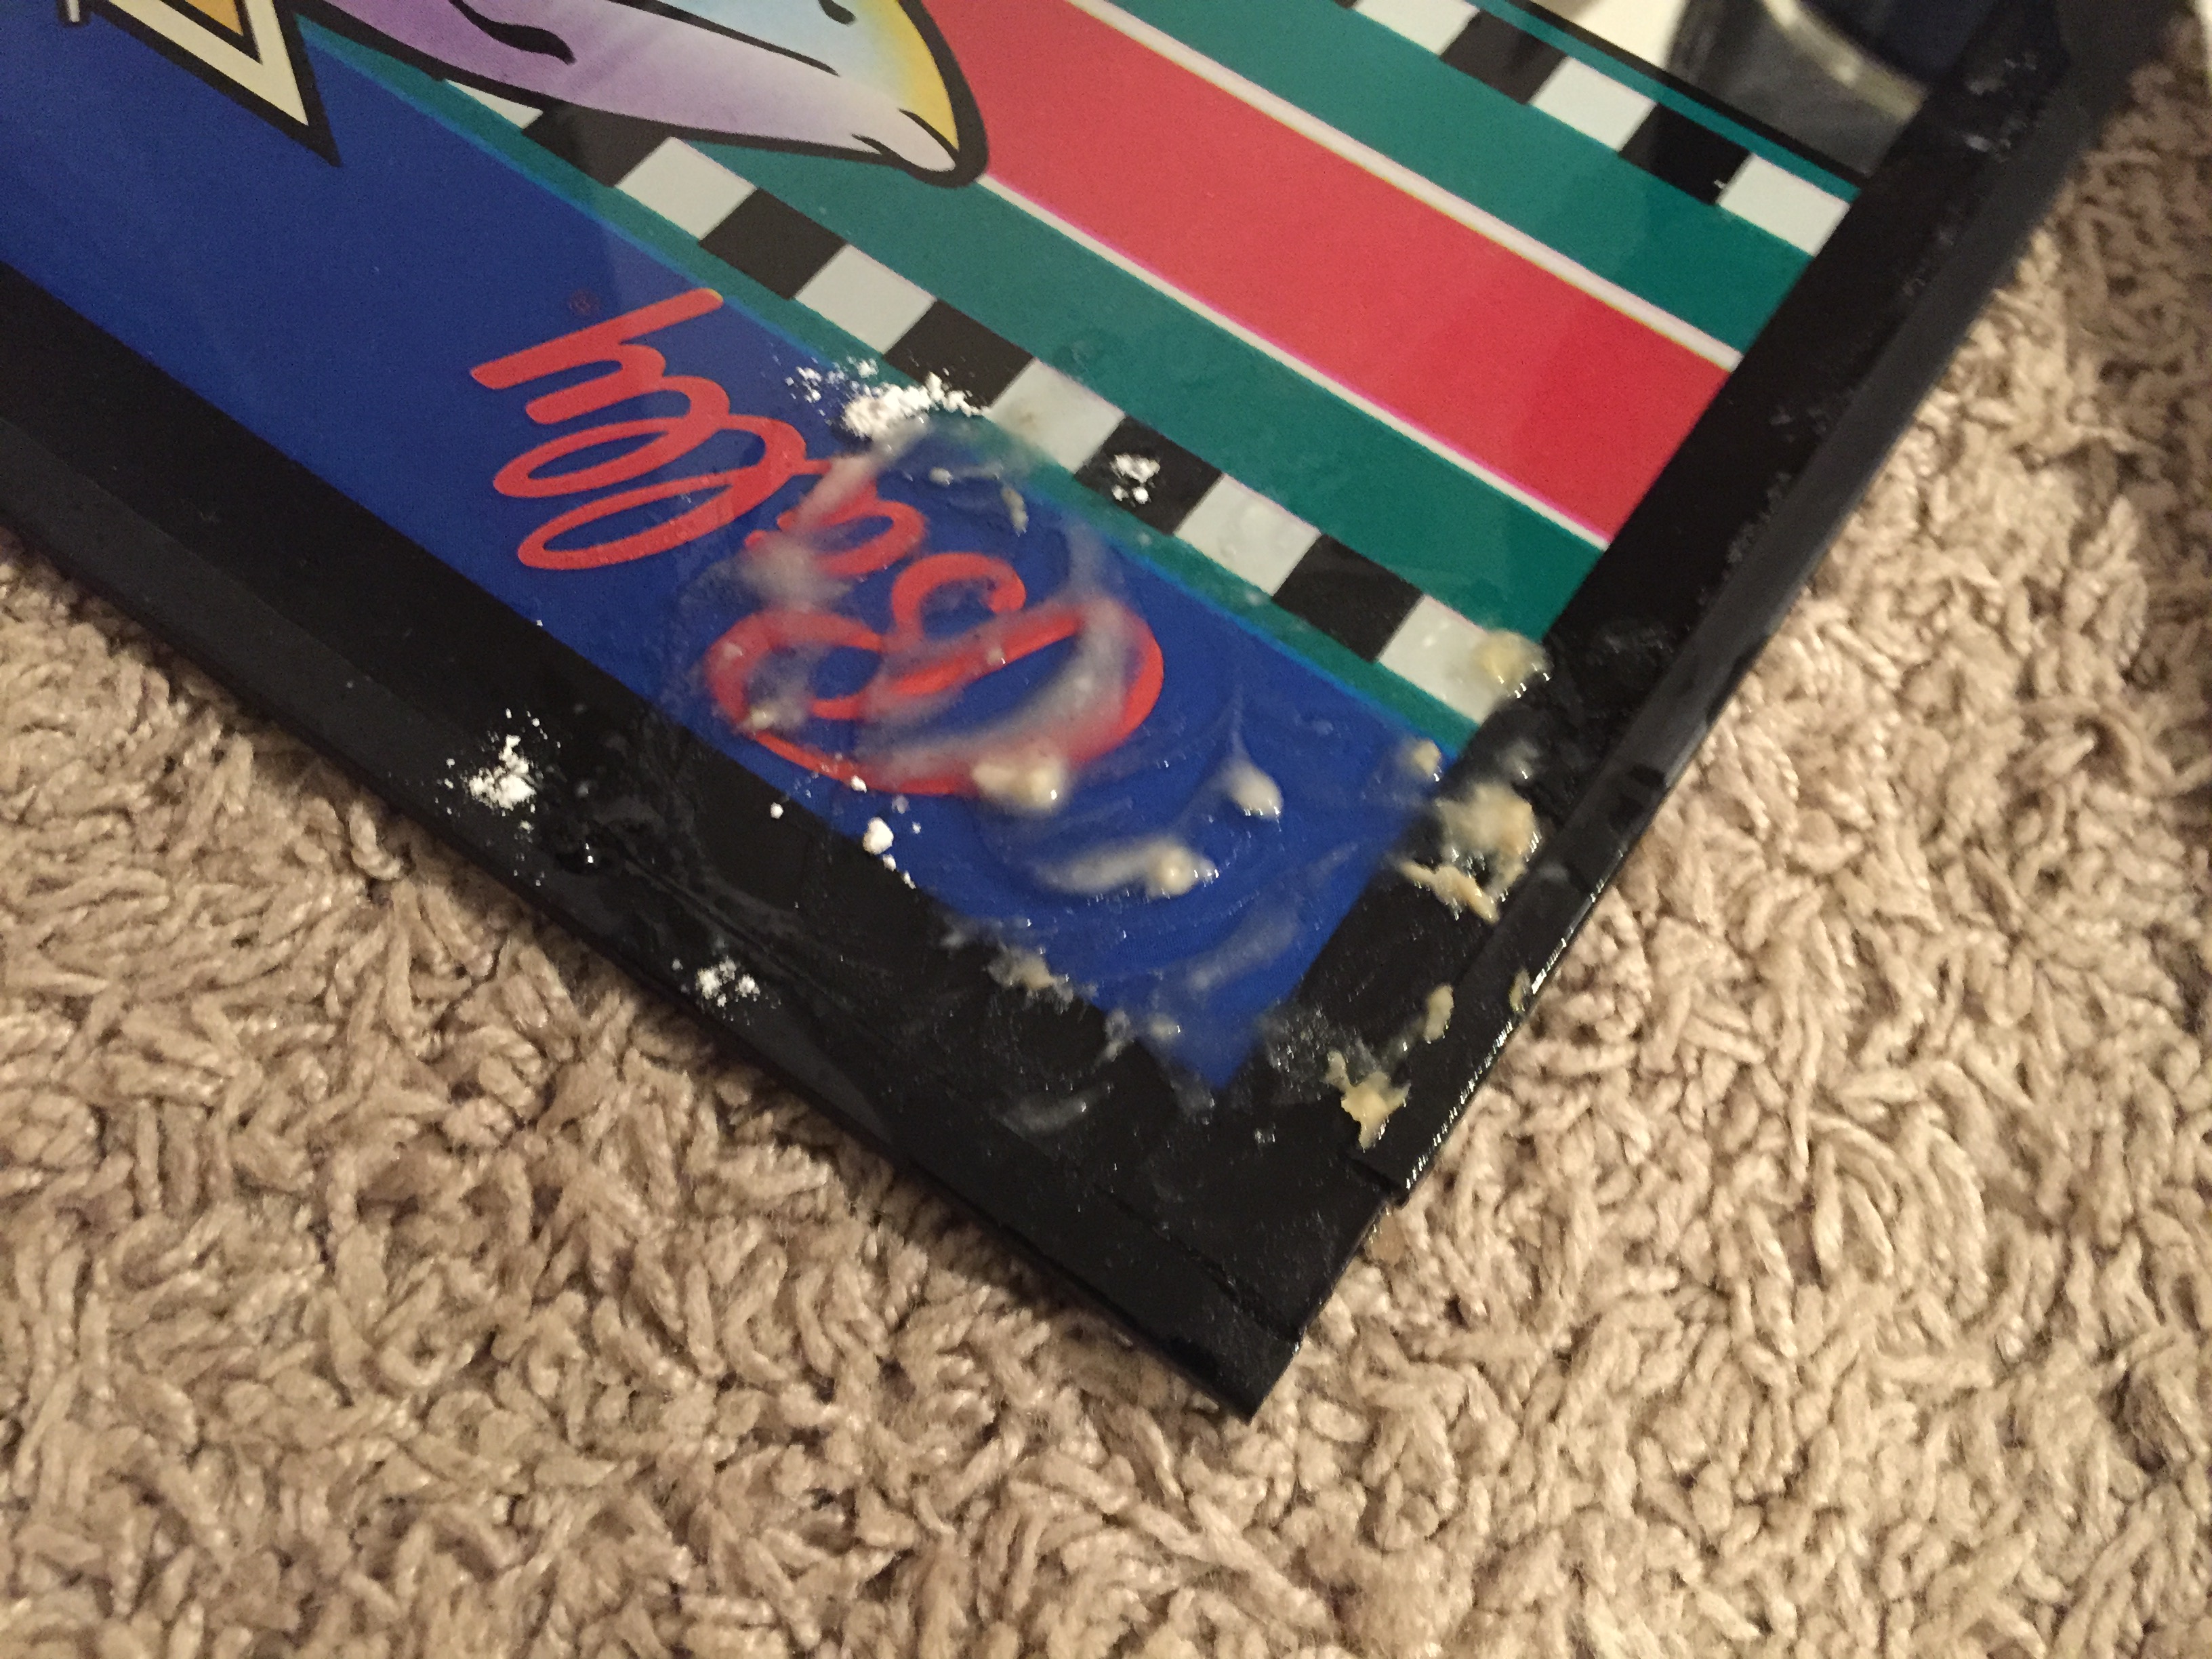
A 25-year-old sticker on a piece of glass can be a terrible pain to get off without leaving a

Removing residue with Goo Gone and flour.

Removing residue with Goo Gone and flour.

mess behind. The method I use for best removal is to spray Goo Gone (NOT Goof Off) over the sticker, let it soak for about 5 minutes and then begin peeling up slowly. After the sticker is up, there is usually still a thin layer of glue residue. If you leave the Goo Gone on the glass and add a little normal baking flour to it and rub the flour with your finger over the residue, it’ll get the last of that sticky glue residue off the glass. Wipe up the Goo Gone with a paper towel, clean the glass with your preferred

Finished product -- removed 25-year-old sticker. No residue left!

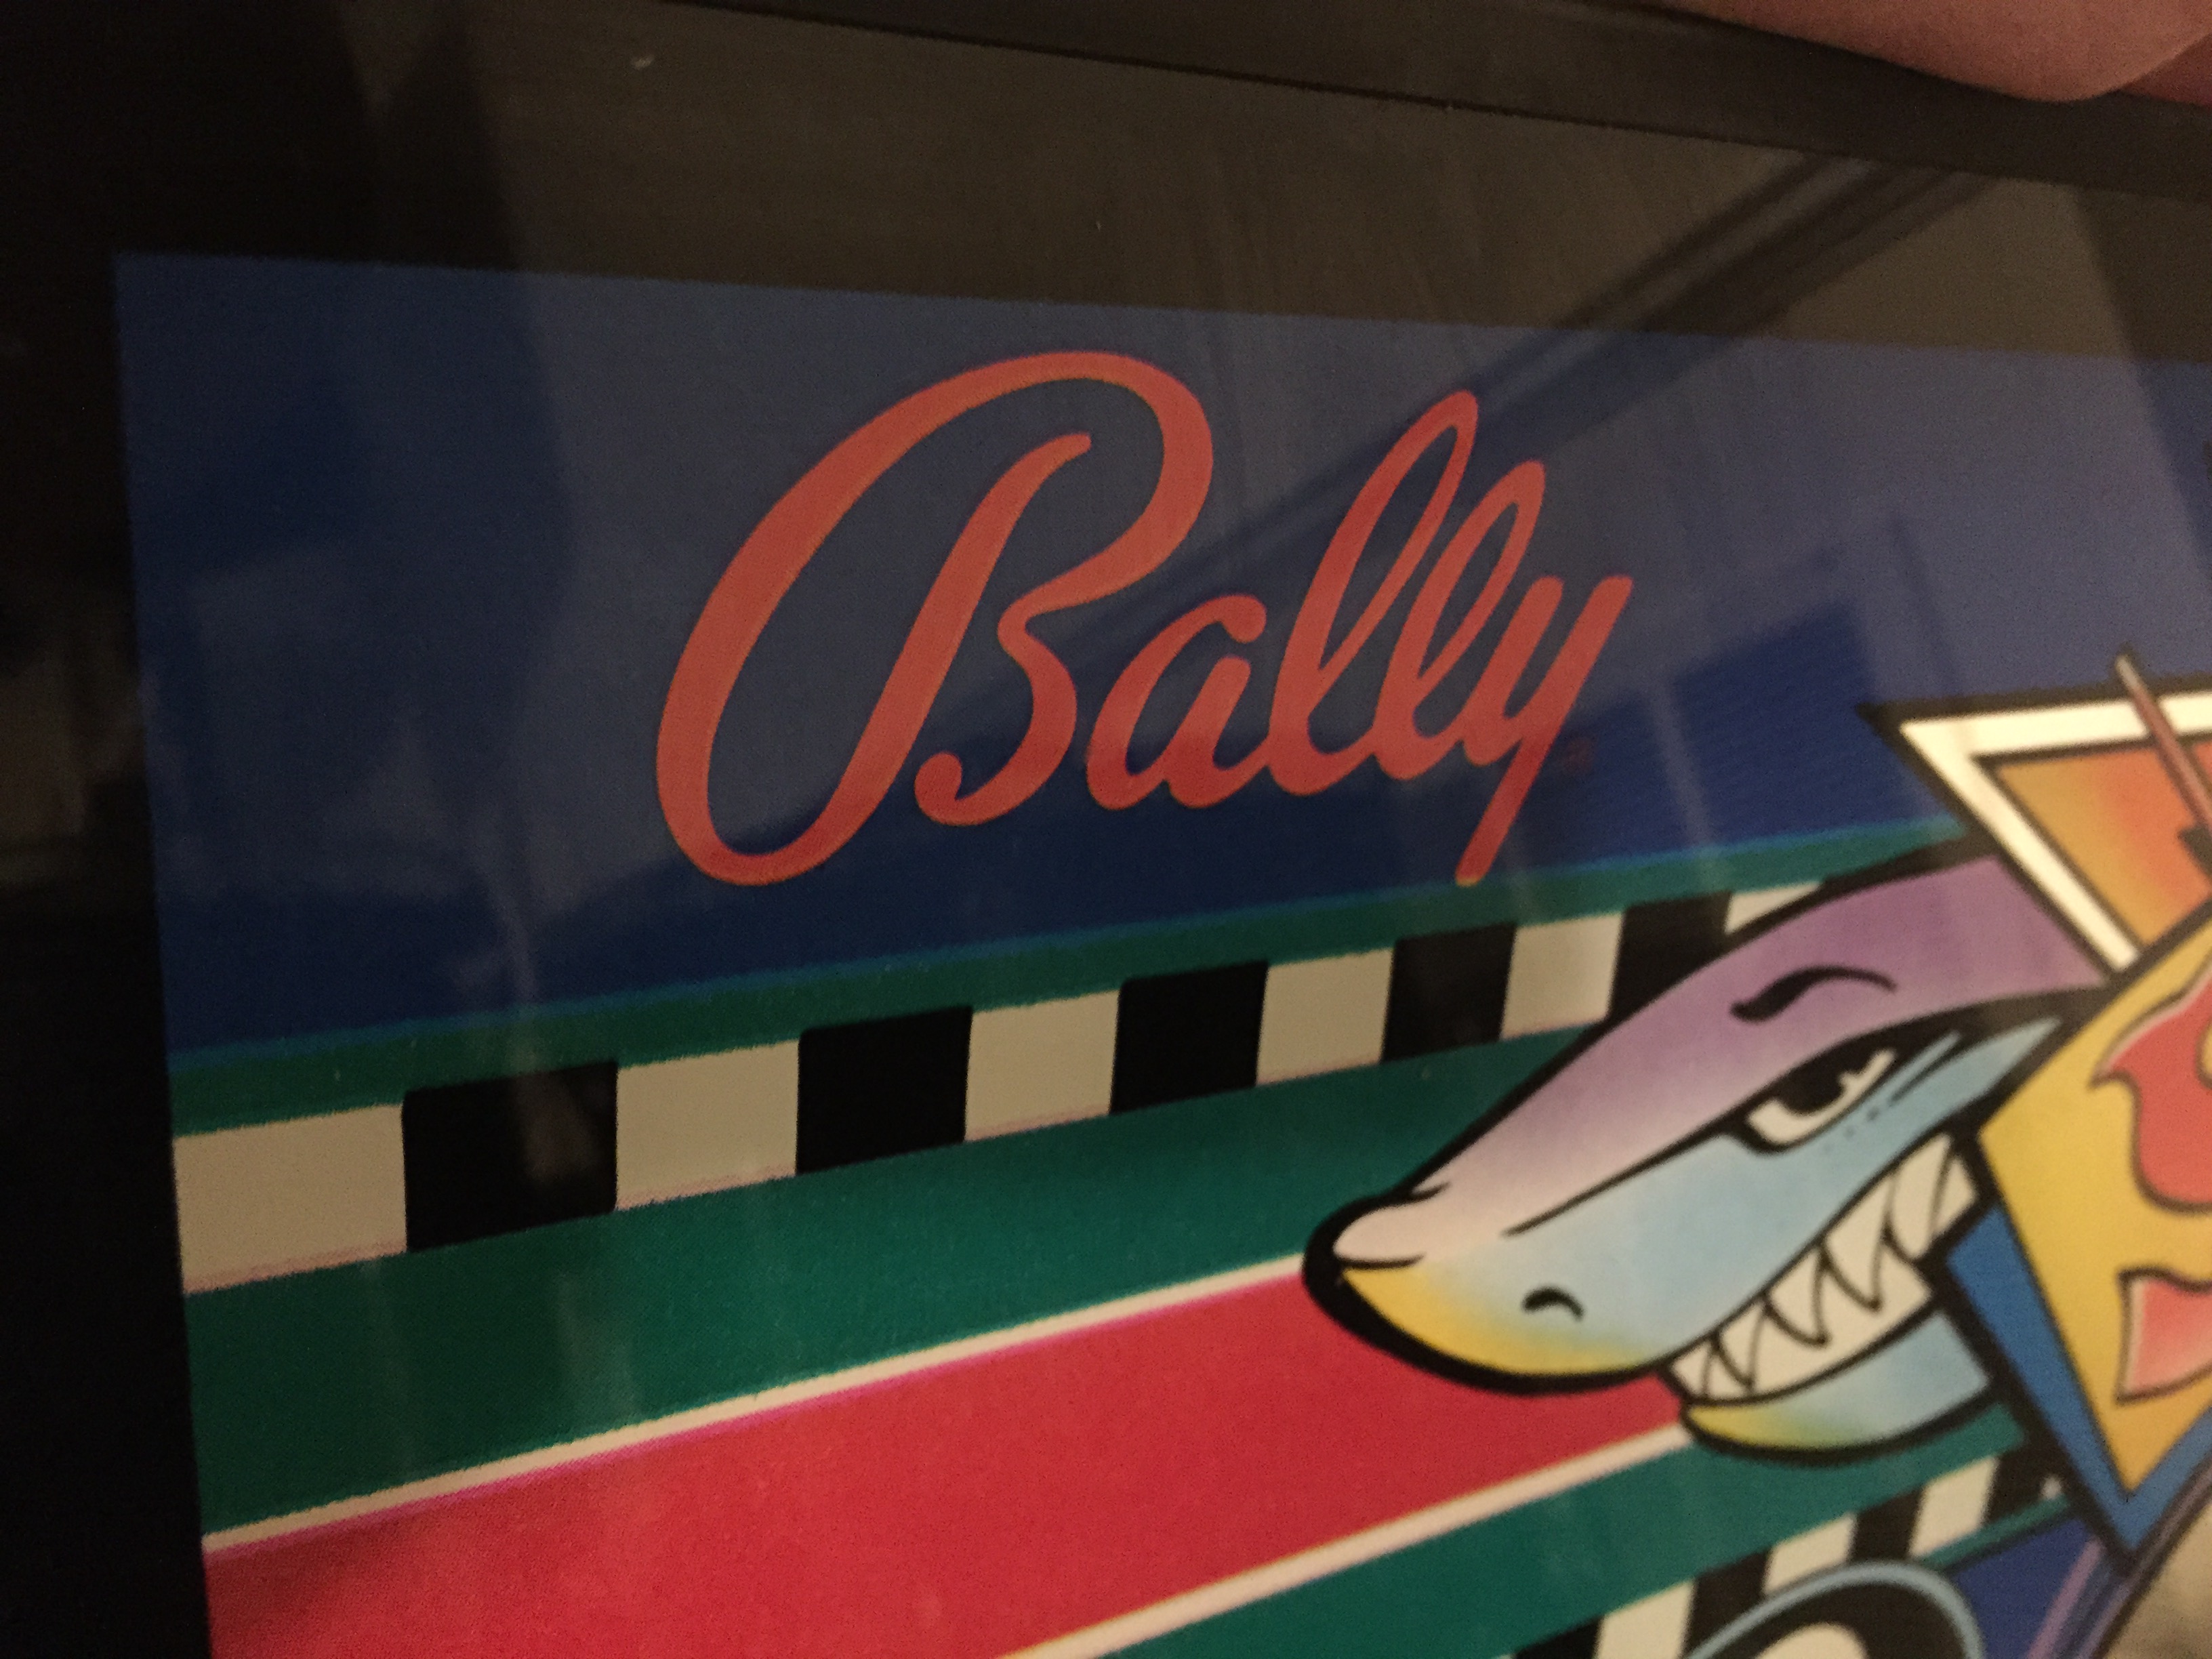
Finished product — removed 25-year-old sticker. No residue left!

glass cleaner gently and viola, no remnants of that nasty sticker on your nice artwork.

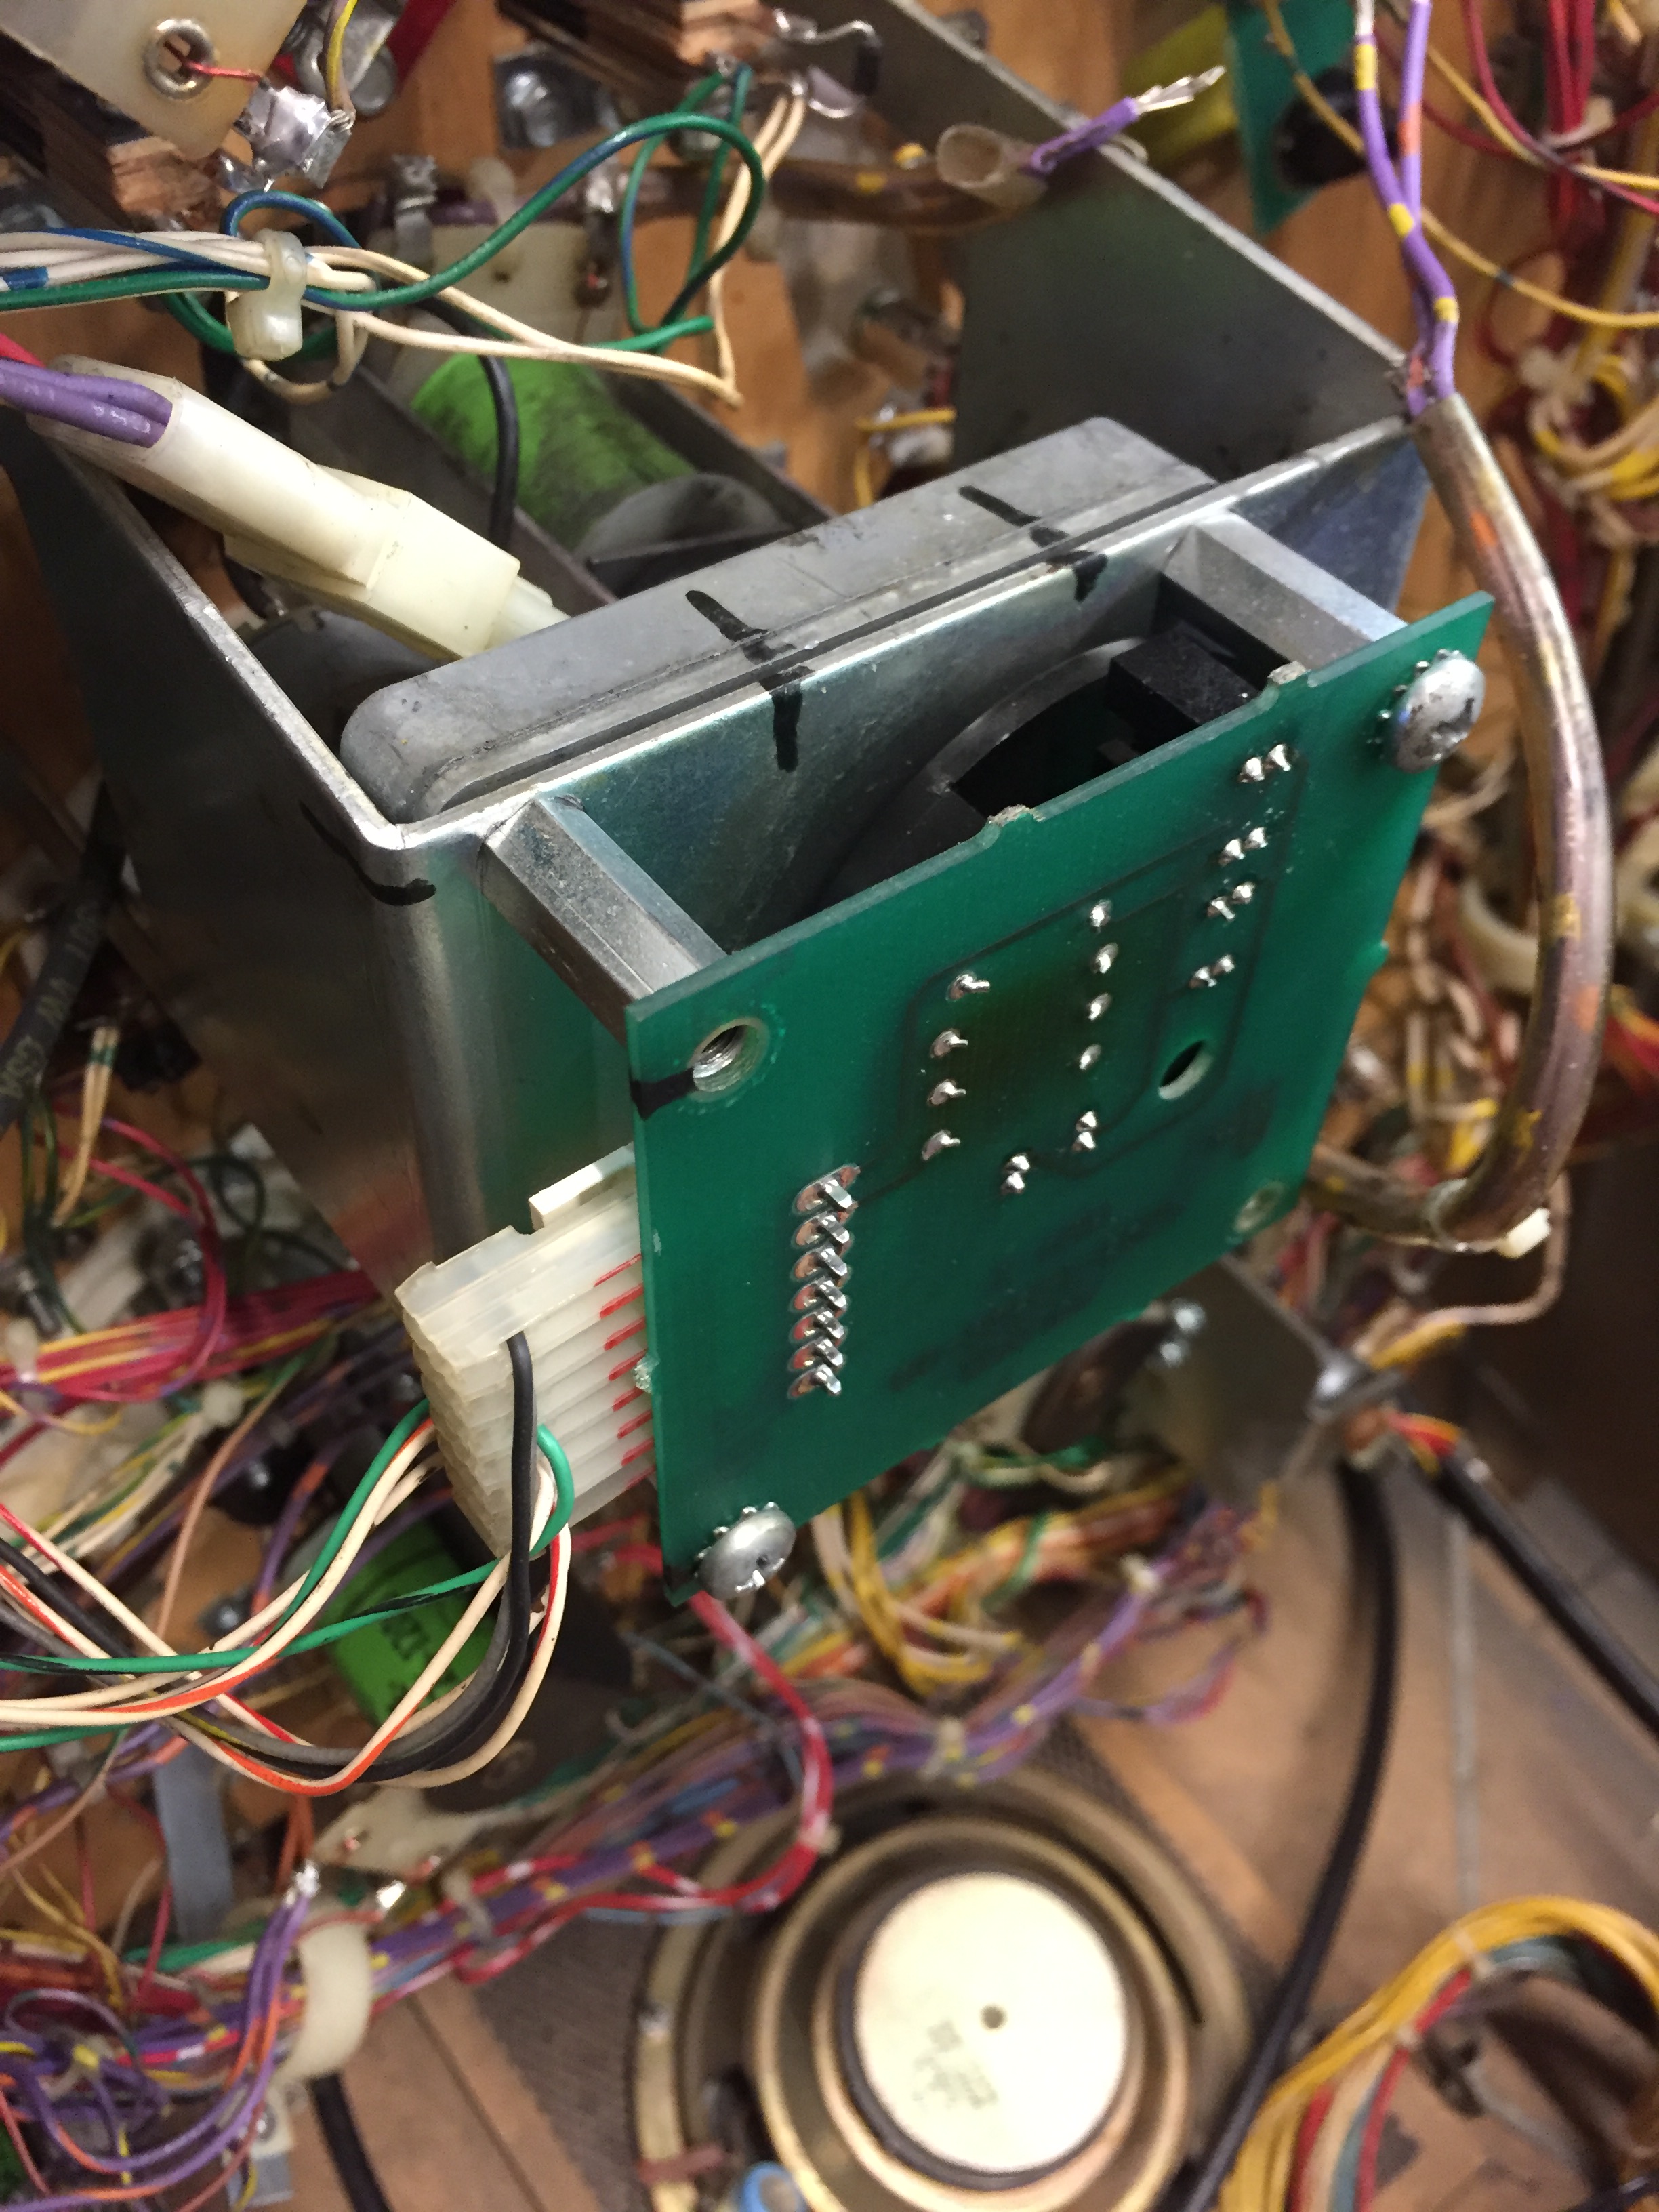
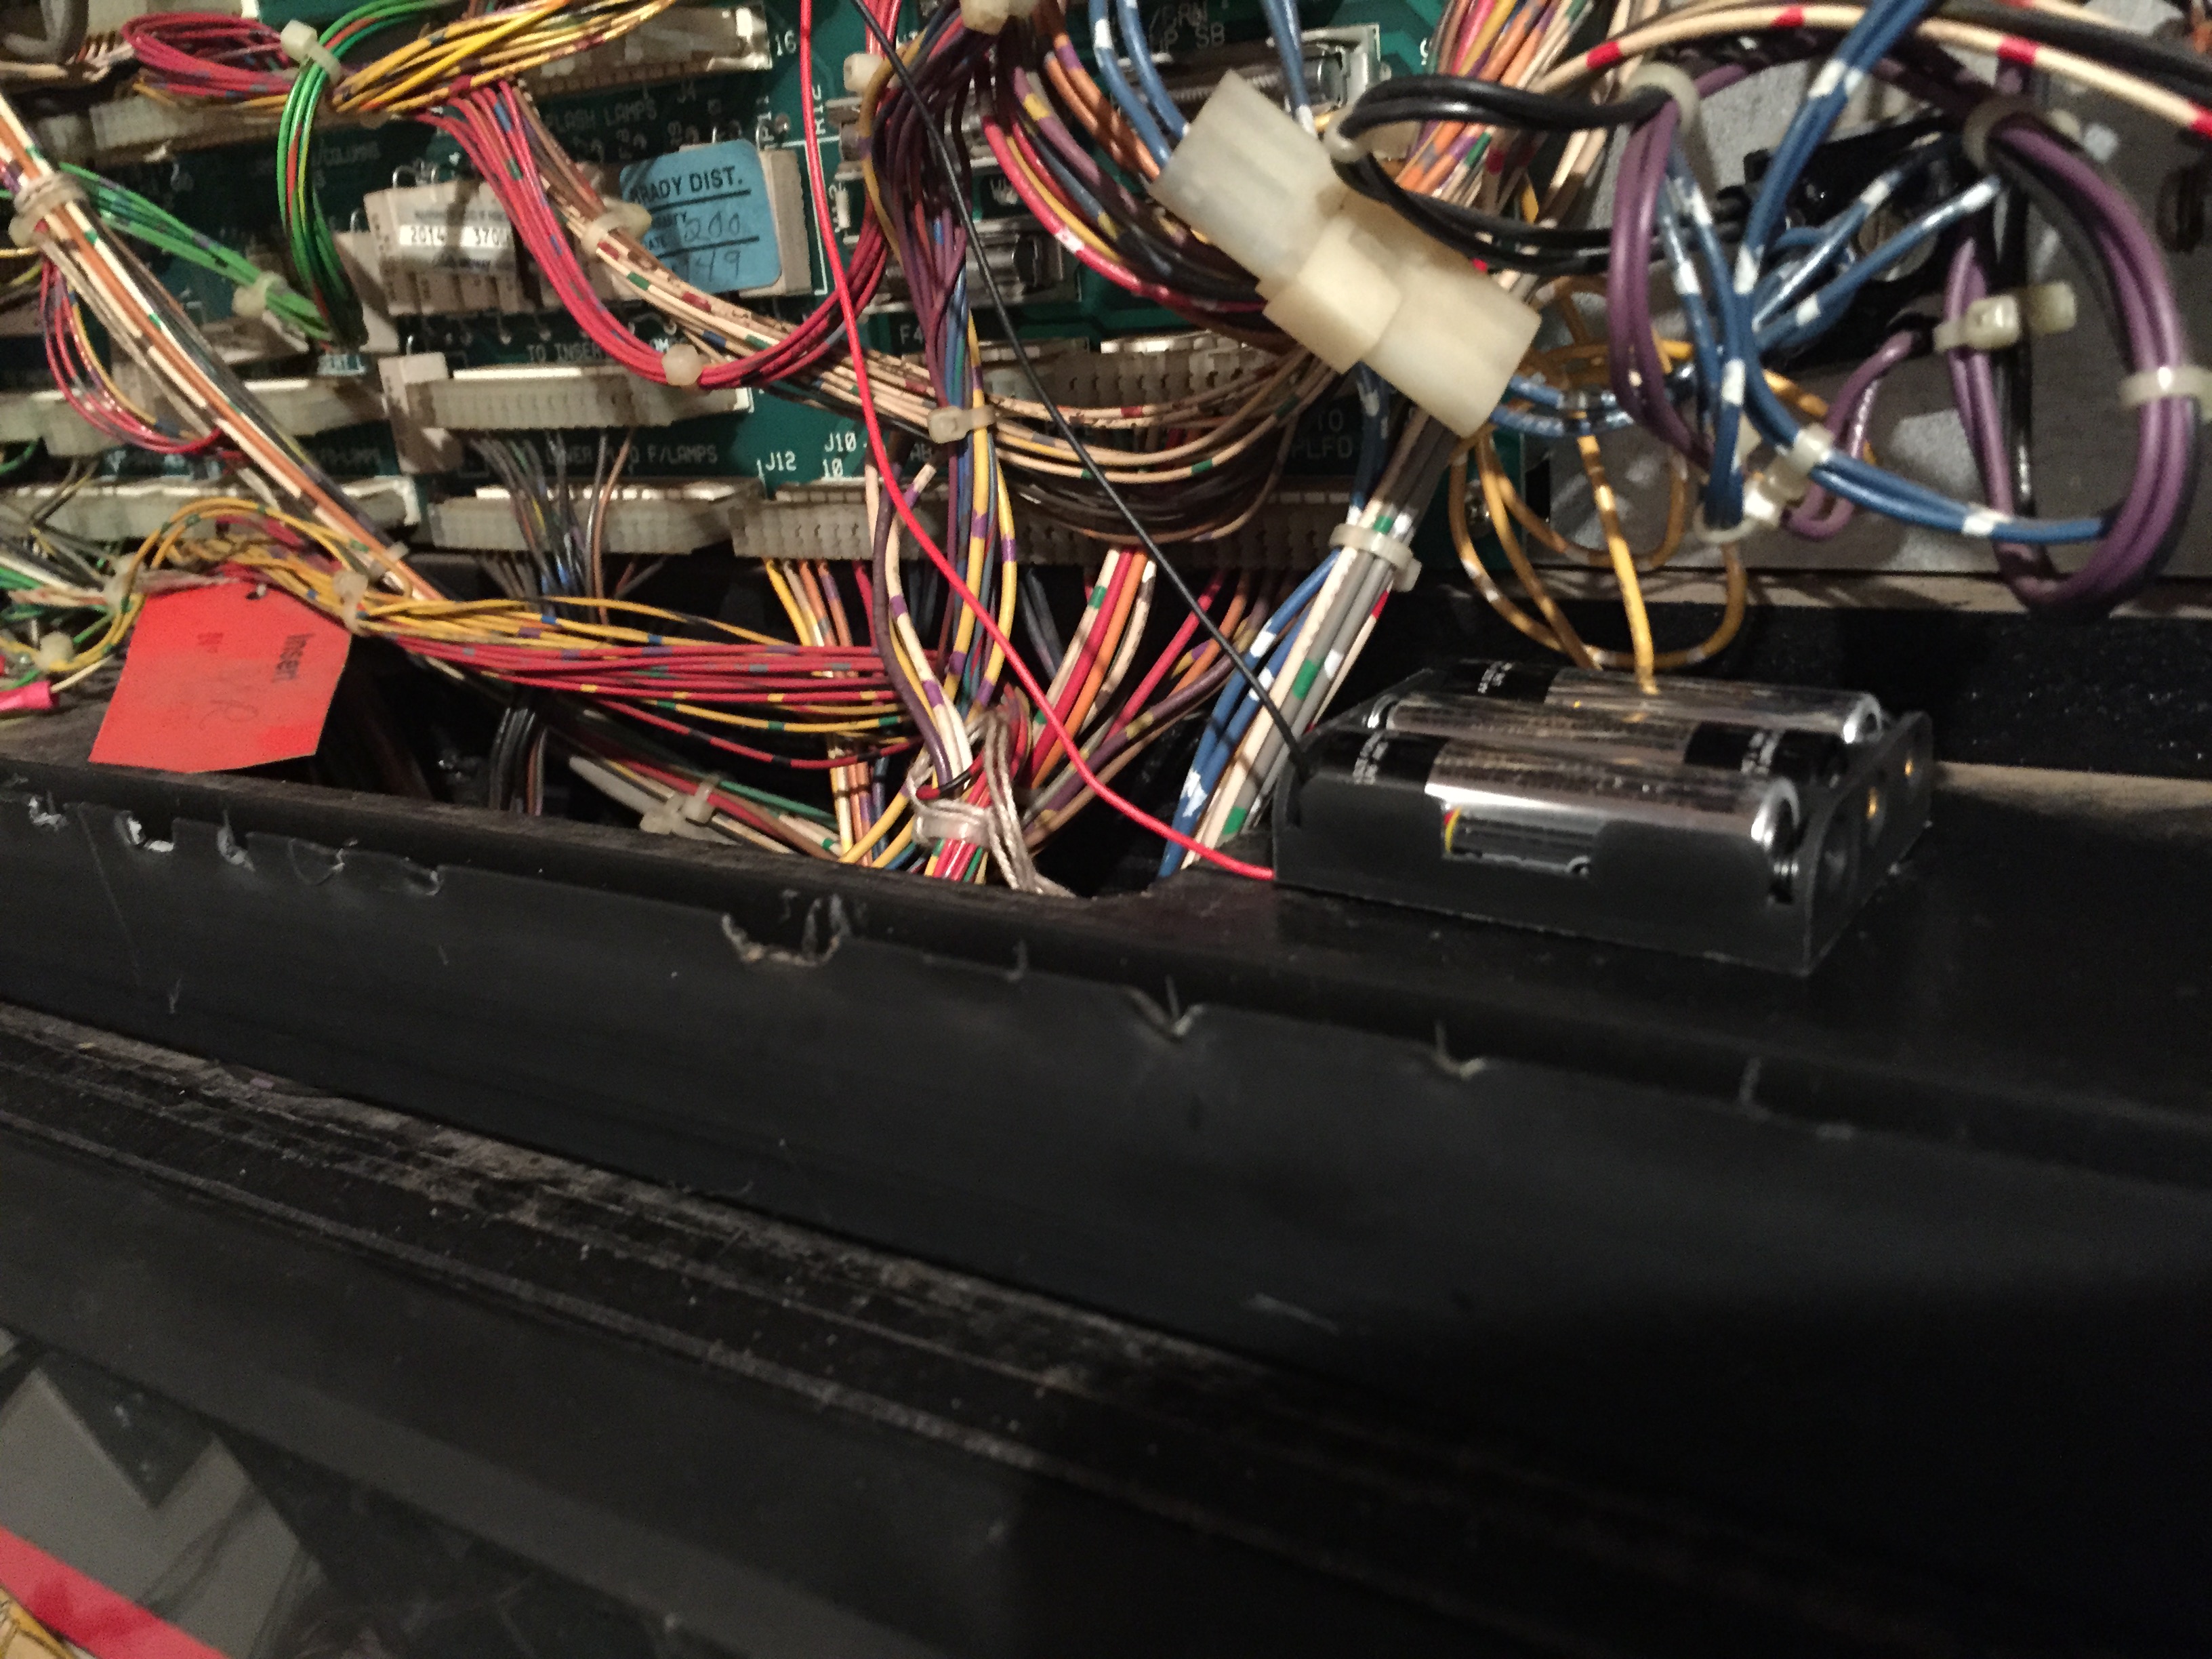
I always check the battery situation on any game for corrosion first thing. This game didn’t have any corrosion on the board, but I noticed some green/blue corrosion beginning on the battery holder, so I cut that sucker off and added a remote pack. If you add a remote pack to your game, make sure to set the pack as far away from the board as possible. If you remote the pack and stick it up over the board or close to the side, it might not do much good in preventing future damage.

Remote pack placed outside the "Danger Zone"

Remote pack placed outside the “Danger Zone”

I lucked out in this Pool Sharks being a Diamond Plated playfield. This was Bally/Williams clearcoat method that didn’t become popular until around 1992. In 1990, only a small percentage of games had the Diamond Plate (which is preferred for extra protection of the playing field artwork). To get a Diamond Plated System 11 game like this is a nice surprise, and this playfield is beautiful. I polished it with Novus 2, added new balls and put down a good, hard layer of wax.

Diamond Plated playfield in really nice shape after polish and wax.

Diamond Plated playfield in really nice shape after polish and wax.

I was able to play a couple games and go through some tests. There are a few bulbs out, a couple bad 555 holders I found, the Talking Shark solenoid is not working in test mode and I noticed a couple switches that need adjustment. All-in-all though, not really that much to go through.

I’ve never played Pool Sharks before buying it, but clocked about 5 games as-is on it tonight. It’s actually a lot of fun! I’m looking forward to getting everything 100% on it. Next steps include: repairing my talking shark, adjustment of switches that need attention, fully LEDing the game (I began tonight with what I had surplus on hand but didn’t get too far), adding super bands on the flippers, adding new drop targets, and tearing down and re-rubbering with white rubbers.

Posted in Uncategorized | Leave a comment

1963 Williams Major League Pitch and Bat Repair (EM)

I don’t know electro-mechanicals like I do solid state games, a large part being that I have only owned one EM in my entire collecting career; however, I have ended up fixing a few and like the challenge. I’m always keeping my eye out for a reasonable project just for more experience with these machines, so if you have one that needs some work, contact me!

The issue with this game was that the Outs were not resetting correctly, or sometimes they would reset and then not step up properly, etc. I told the owner EMs weren’t my forte, but I’m always happy to take a look and see if I can help out.

The great thing about electro-mechanical games is that a lot of what’s wrong with the game is visually evident. The machines work off of AC power, as opposed to the primarily DC-driven solid state games, and operate through a series of NO (Normally Open) and NC (Normally Closed) switches, relays, motors and stepper units. The actual playfield components aren’t too different from their solid state younger brothers in operation.

Sure enough, the Outs were not working. You could see the lights blink up, but then not reset at the start of a new game, and many times they’d start on odd numbers. We took the playfield off which was attached to the bottom cabinet with a piece of bakelite (a snap in/out connector that is typically used to connect the playfield harness to the backbox).

Stepper Unit that controlled the "Outs" that needed attention.

Stepper Unit that controlled the “Outs” that needed attention.

We then started a game and I watched as I hit the “Out” on the game with my hand. The function ended up being controlled by a stepper unit in the back of the cabinet. It was a total reset stepper that would increment up for the 3 Outs, and was then supposed to reset back to the beginning position. This one would increment up just fine, but then sluggishly reset.

Upon reset, a solenoid is supposed to fire to release the bar over the gear and a spring allows the gear to reset to it’s “first position”. As we continued testing, the Outs actually began to register normally; however, you could tell it would just be a matter of time before it would stop working as the reset function was so slow and sluggish.

Over the years, these games get gunked up and the stepper units need to be taken apart and cleaned. Being some 50 odd years since this unit had been disassembled, it proved difficult to get it fully apart. We did get it mostly broken down though and were able to clean away the gunk with Q-tips and isopropyl alcohol.

Once back together, I manually fired the increment solenoids and reset with my hand and it was as smooth as butter. We put the game back together and the owner play tested a few games and everything was working perfect.

I was happy to be able to help the owner out, and it was fun to get to work on not only an electro-mechanical game, but a pitch and bat that you definitely don’t see every day!

Posted in Repairs | Tagged , , , , , , , , | Leave a comment